
Assembly guide
Add your charger in 8 steps.
Your Grade 8 ships fully assembled. All you add is the charger that came with your Olight flashlight.
You'll need
- Olight MCC1A, MCC2A or MCC3A charger (plastic housing)
- T10 Torx screwdriver
- A steel surface: toolbox top, fridge door, steel ruler
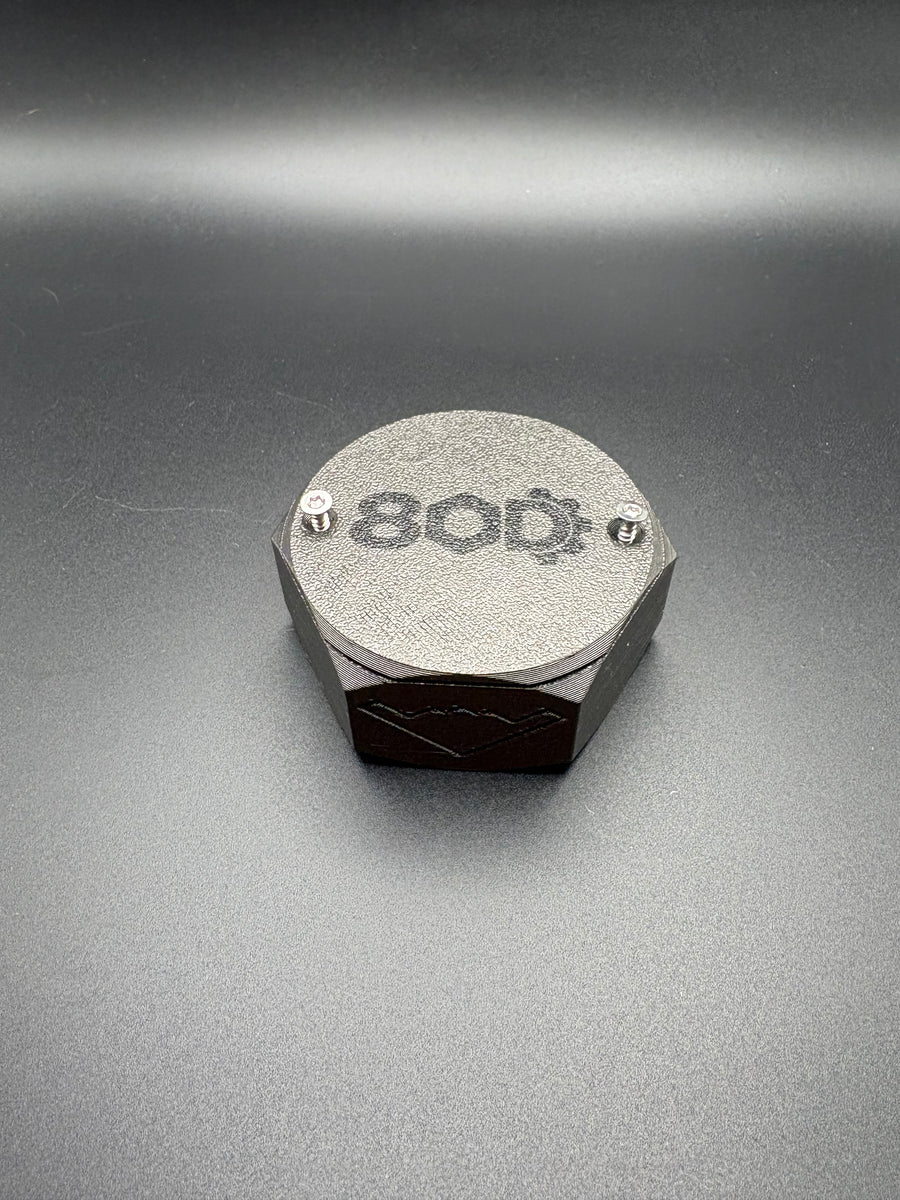
Step 1: Remove the screws
Remove the two T10 stainless steel screws from the bottom of the base plate.
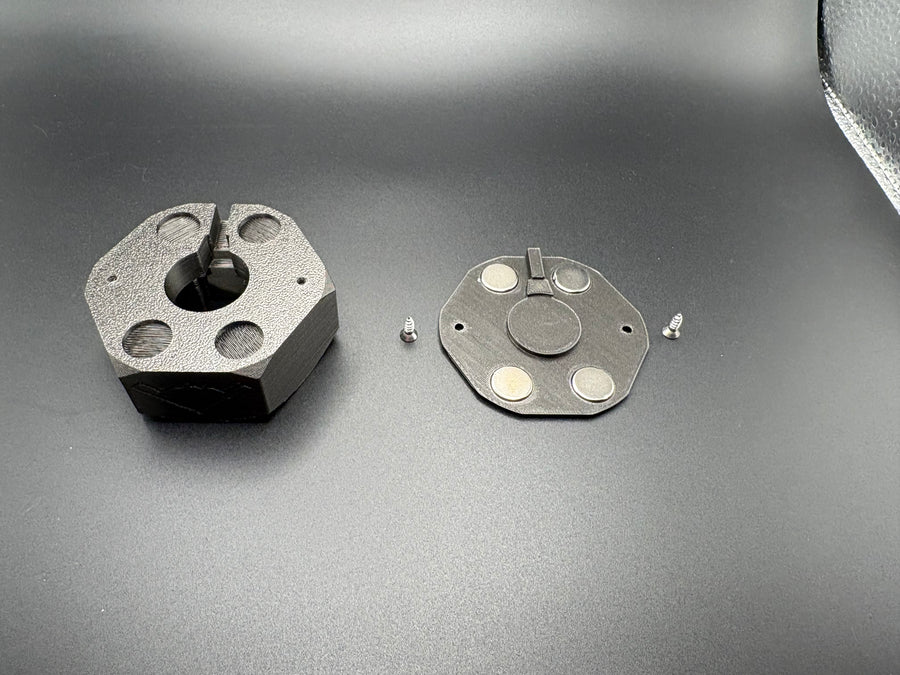
Step 2: Separate the halves
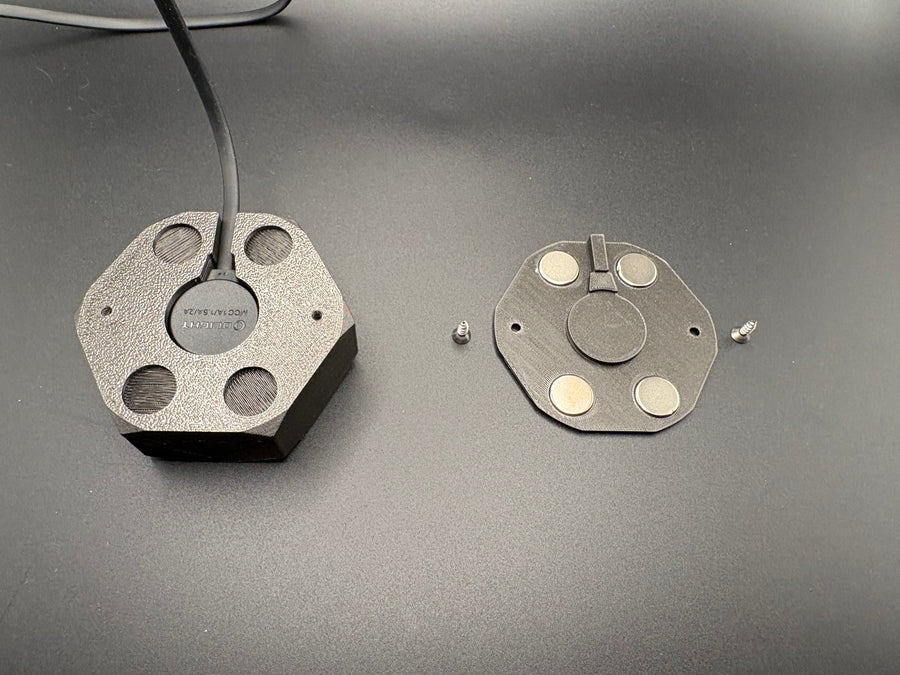
Pull the Grade 8 apart into the upper body and the indexed base plate.
Heads up: the four magnets can jump out and snap together. Totally normal.
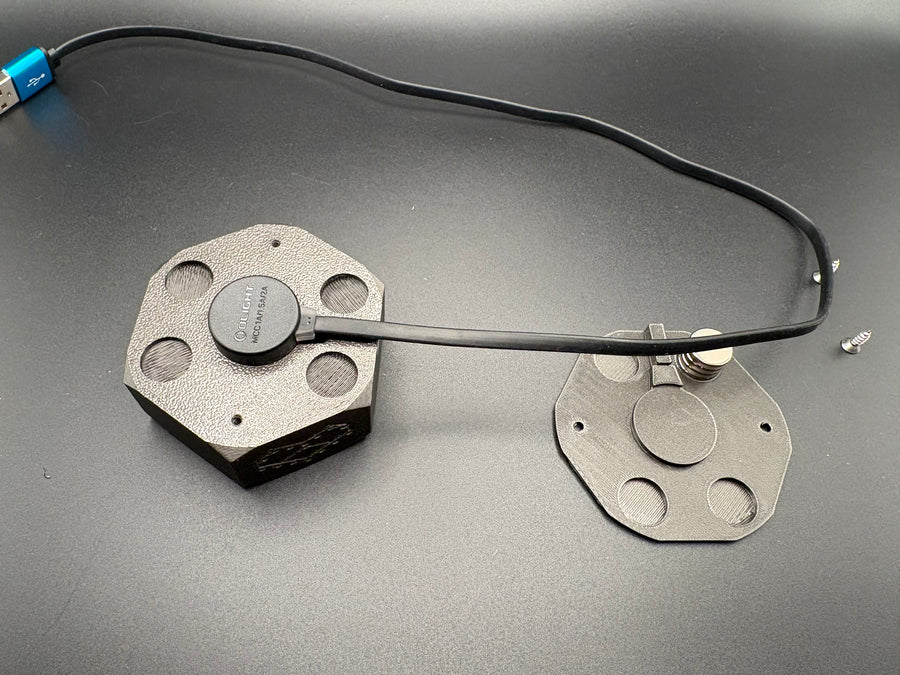
Step 3: Align the charger
Line up your MC charger with the cord exiting the rear channel.
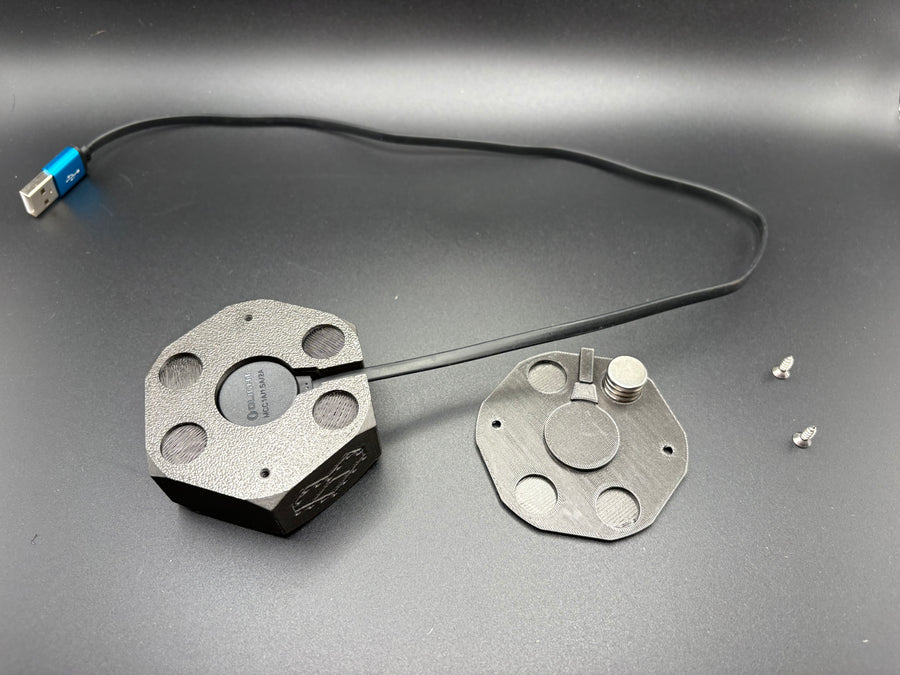
Step 4: Press it in
Press the charger in flat until it sits about 1.5 mm below the surface, cord straight in the channel.
It's a deliberately tight fit, so the charger stays put when you pull your light.
Step 5: Reset the magnets
Set the base plate on a steel surface and drop the four magnets back in, matching poles on all four.
Tip: keep the magnets stacked and slide them off one at a time, without flipping them.
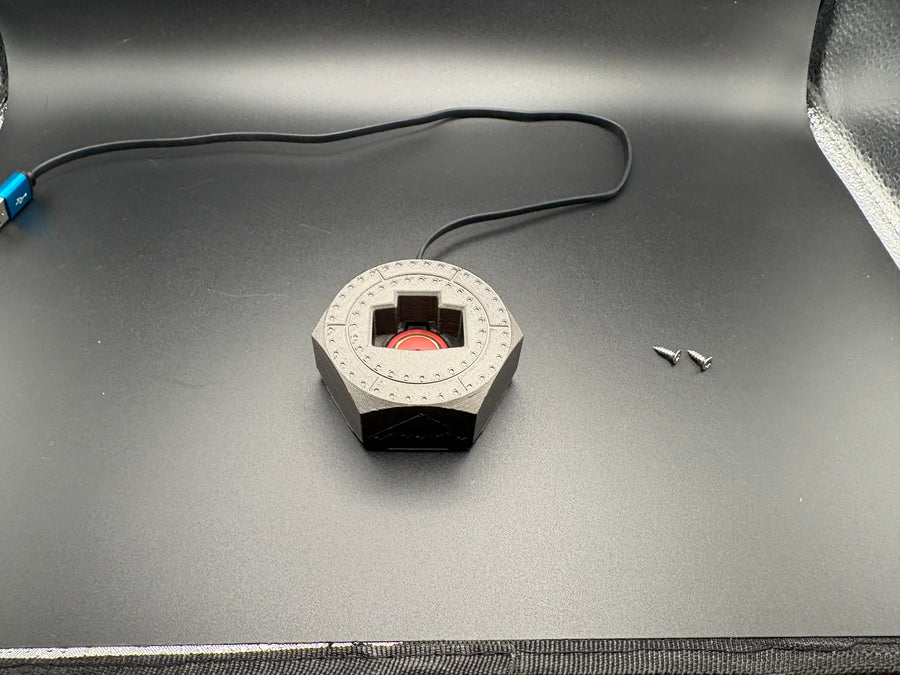
Step 6: Join the halves
Line up the upper body and press it onto the base plate until there's no gap.
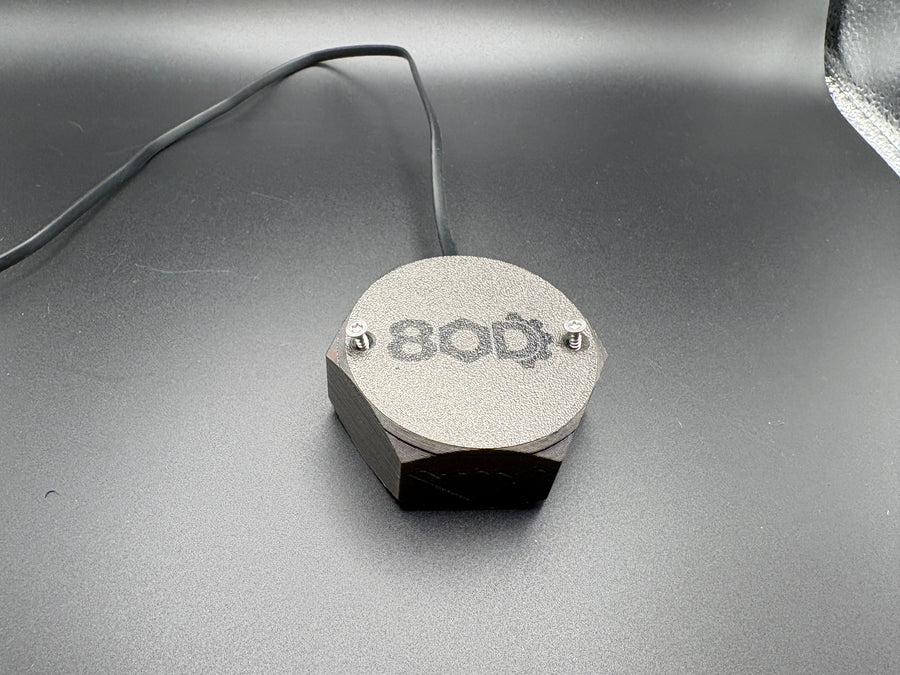
Step 7: Flip it & reinstall the screws
Pick both halves up together and flip it upside down. Reinstall the two T10 screws. Snug, not overtightened.
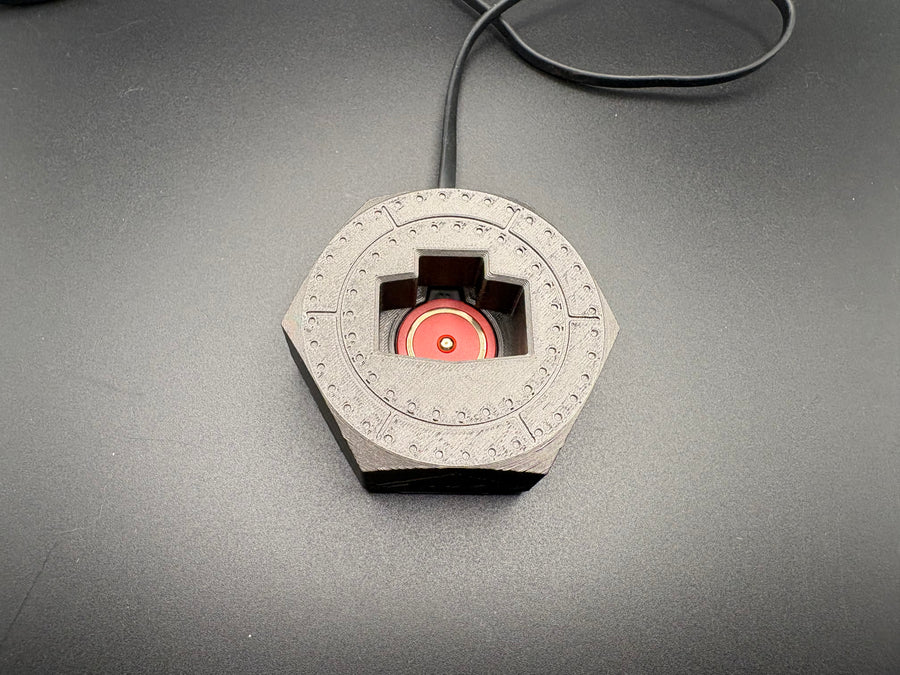
Step 8: Plug in & dock your light
Flip it right side up, plug in the USB cable, and drop in your light. You're done.
Magnet safety
- Slide, don't pull. Slide magnets and docks apart instead of prying them.
- Watch your fingers. Magnets snapping together can pinch.
- Don't let them slam together. Neodymium magnets are brittle and can chip.
- Keep away from phones, magnetic-strip cards, and anyone with a pacemaker or implanted medical device.
- Not a toy. Keep loose magnets away from children and pets. Swallowed magnets can cause serious internal injury.